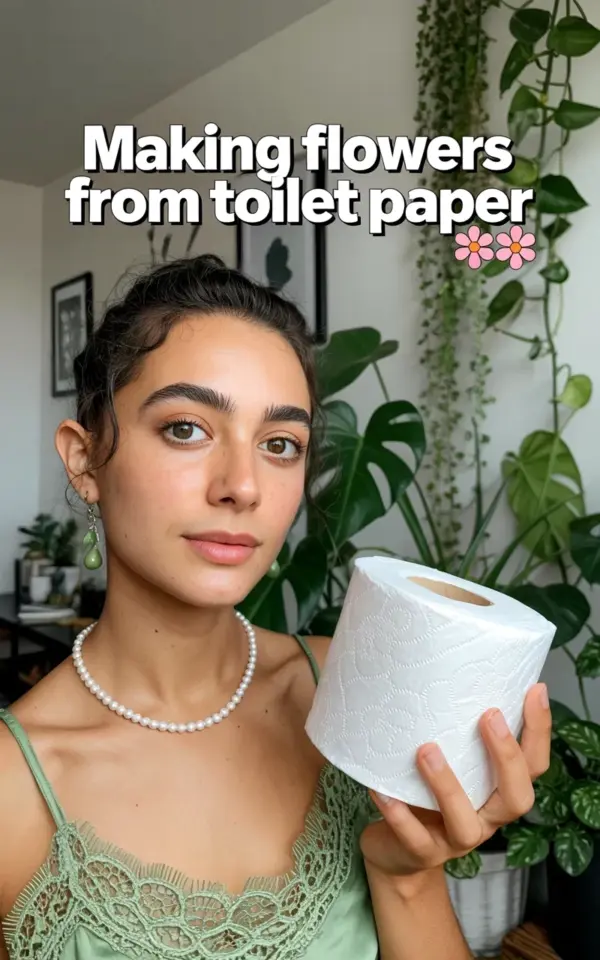
If you have ever tried making a toilet paper flower DIY and ended up with something that looked more like a squished napkin than a bloom, you are not alone. I have been there too, standing in my living room with a roll of two‑ply and a glue stick, wondering why my flower looked so flat. The biggest beginner mistake I see over and over is skipping the layering step. Without enough petals, your flower looks flimsy and sad. For full, realistic blooms, you need to tear the toilet paper into at least six to eight squares per flower and twist each layer separately. Add a dab of glue at the base to hold the shape. This simple trick gives soft, petal‑like flowers that look surprisingly real, perfect for home decor or a fun weekend craft with your kids. And the best part? You probably already have everything you need in your bathroom cabinet.
Why layering matters for realistic toilet paper flowers
Think about a real flower. A rose, a peony, even a simple daisy has multiple layers of petals that overlap and create depth. When you make a toilet paper flower DIY with only two or three layers, the result looks like a flat disc. The petals have no room to puff outward, so the whole thing collapses into a wrinkled mess. Layering is what gives your flower volume and that soft, organic shape we all want. Each layer adds a new set of petals that can be twisted, pinched, or fluffed independently, mimicking the natural structure of a real bloom.
I learned this the hard way. My first flower had four squares and I twisted them all together. It looked like a sad little puffball. When I tried again with eight separate squares, twisting each one individually and gluing them at the base, the difference was night and day. The flower actually looked like something you might see in a boutique, not a bathroom supply closet. So if you are tempted to rush and use fewer layers, resist that urge. More layers equal better flowers.
Gathering your budget‑friendly supplies (you probably have them already)
One of the best things about this craft is how little it costs. You do not need fancy paper, expensive tools, or special glue. For a toilet paper flower DIY, all you need is a roll of standard white toilet paper (any brand works, just avoid the really thin one‑ply stuff), a pair of scissors, and some white craft glue or a glue stick. I also like to keep a small paintbrush handy for applying glue neatly. A spray bottle with water can help soften the paper, but it is not required.
If you want to add color, you can use food coloring diluted in water, watercolor paints, or even leftover tea or coffee for a vintage look. I often use a few drops of pink or yellow food coloring mixed with a tablespoon of water, then dab it onto the edges of the petals with a cotton swab. It gives a gentle ombré effect that makes your flowers look even more realistic. The whole project costs pennies compared to buying artificial flowers or fancy craft paper. And you can involve your kids without worrying about expensive supplies going to waste.
Step‑by‑step: How to layer your toilet paper flowers correctly
Start by unrolling a length of toilet paper. For one medium‑sized flower, cut off about 12 to 16 inches (roughly 30 to 40 cm). Then tear or cut that strip into six to eight equal squares. Some people prefer to cut, but I like tearing because the soft, slightly ragged edges look more like real petals. Each square will be one layer. Keep the squares stacked on your workspace.
Take one square and gently crumple it in the center, forming a loose cone or a small twist. Do not compress it too tight. Let the edges flare out. Set it aside and repeat with the next square. Once you have all six to eight pieces twisted, hold them together at the twisted bases. The petals should fan out in different directions. Apply a generous dab of glue around the base and hold it for about 15 seconds. Let the glue dry completely before you start fluffing the petals. Fluff by gently pulling each layer outward and upward. If a layer feels stuck, you can separate it with a toothpick or the tip of a scissors.
The most common beginner mistake (and how to fix it immediately)
Now let me tell you the mistake I see most often in toilet paper flower DIY tutorials. People take a whole stack of squares, twist them all at once, and glue the whole clump together. That is not layering. That is just making a paper ball. When you twist multiple squares together as one unit, the petals cannot move independently. You lose all the depth that makes a flower look like a flower. Instead of separate petals, you get a lumpy mass that flattens out after a few hours.
This is the exact problem I had in my own bathroom one rainy Saturday. I watched a quick video, grabbed four squares, twisted them all at once, and ended up with a sad little blob. My friend’s daughter, who was crafting next to me, twisted each square one by one and her flower looked amazing. That is when I realized the secret is taking those extra few seconds per layer. So if you have been skipping the individual twist step, stop right now. It takes maybe two extra minutes per flower, and the difference is huge. Trust me.
How to make your toilet paper flowers look soft and realistic
Besides layering, a few small tricks can take your toilet paper flower DIY from “cute craft” to “wait, is that real?” First, use the edges of the toilet paper. The perforated tear line gives a natural uneven edge that looks like a petal shape. If you cut the squares with scissors, you lose that softness. Tear them instead, and you get a subtle scalloped edge that feels organic.
Second, give your flowers a light spritz of water before you start twisting. Not soaking wet, just a quick mist. Wet paper is more pliable and holds curls better. Let the water sit for a few seconds, then twist. The petals will dry into soft, wavy shapes. You can also add a tiny drop of perfume or essential oil to the water for a scented flower (rose or lavender work well). Another trick: after gluing the base, let the flower dry upside down. Hang it by the stem (a piece of floral wire or a bent paper clip) so the petals fall naturally without being flattened.
Fun ways to use your toilet paper flowers around the house
Once you have mastered the basic layering technique, the possibilities are wide open. These flowers are lightweight, so they are perfect for hanging on a wall or tucking into a wreath. In the photo I took for this article (the one with me in a green lace top, holding a white toilet paper roll against a white wall with trailing plants), you can see how even a single stem adds a gentle, organic feel to a room. I have a little collection on my kitchen windowsill, and they look charming next to my real houseplants.
Here are a few budget‑conscious ideas to try:
- Faux wreath: Glue a dozen small toilet paper flowers onto a cardboard ring or a dollar‑store foam wreath form. Add a ribbon hanger, and you have a seasonal decoration that costs almost nothing.
- Gift toppers: Instead of buying expensive bows, twist a single flower and tape it to a wrapped package. It makes a thoughtful, handmade touch.
- Kids’ room garland: String ten or twelve flowers on a piece of twine using a needle. Hang it above a bed or play area. Kids love helping make them.
- Table centerpiece: Place a few flowers in a small vase or mason jar. Mix in some real greenery (like a few sprigs from your yard) to blur the line between real and faux.
Common questions about working with toilet paper
Is toilet paper too delicate for this craft? Actually, its softness is an advantage. The fibers are short and thin, so they crumple easily into petal shapes. The key is not to handle them roughly until the glue is fully dry. Once glued, the layers stiffen enough to hold form for months. I have had toilet paper flowers sitting on my shelf for over a year with no problems.
What if I only have one‑ply toilet paper? No problem. Just use more squares, maybe ten to twelve per flower. The thinner paper actually curls more easily, so you can get even softer petals. Just be extra gentle when fluffing because one‑ply tears faster than two‑ply. And avoid adding water to one‑ply; it gets too delicate when wet.
Can I color the paper after making the flower? Yes. Mix a small amount of water with food coloring or watercolor paint, then use a clean sponge or brush to dab color onto the outer edges of the petals. The color will bleed inward gently, creating a realistic gradient. Let it dry completely before handling.
My personal opinion: why I love this craft
I have tried a lot of paper crafts over the years, from origami to paper mache. But the toilet paper flower DIY is my favorite because it is so accessible. I do not need to run to a craft store for special paper. I can start right now, with the roll sitting in my bathroom. And the process is oddly relaxing. Twisting each square, adding a little glue, watching the layers build into something beautiful. It feels almost meditative. Plus, when my daughter joins me, we can make a whole bunch in an hour without a huge cleanup.
If you are still unsure, just try it once. Grab a roll, tear off six squares, and twist them one by one. See how different the result is compared to your old method. I promise you will never skip the layering step again. And if you have kids, let them help tear the squares. The mess is minimal, and the pride they feel when they see their own flower is priceless.
So go ahead, give it a try. You already have the supplies. It costs you nothing but a few minutes. And when you make your first layered toilet paper flower, you might just surprise yourself. I would love to hear how yours turn out. Leave a comment below or tag me in your photos. Happy crafting.
#toiletpapercrafts #diyflowers #beginnerdiy #papercraftideas #easycrafts
Leave a Comment