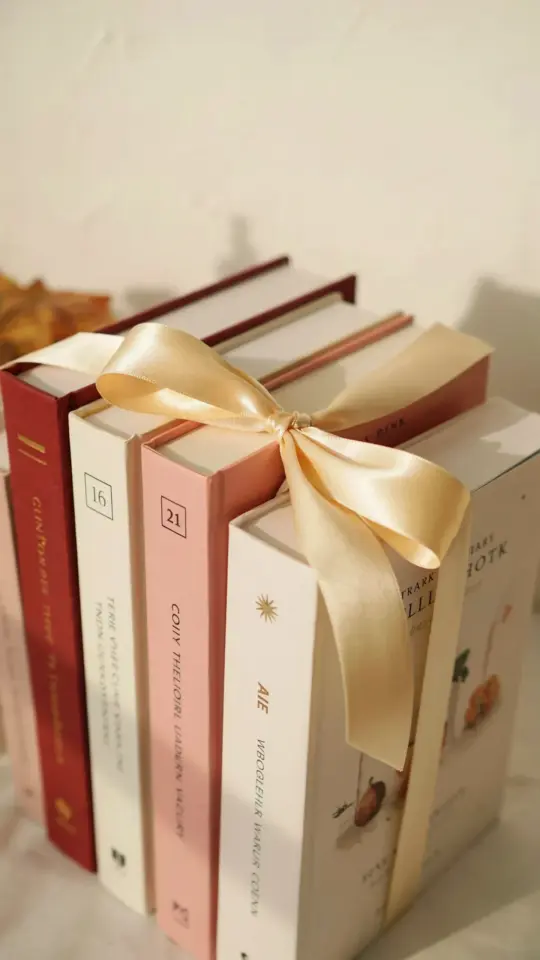
There’s something quietly satisfying about turning a scrap of ribbon into a working bookmark. The diy ribbon bookmark I made last weekend took exactly five minutes, and it now sits in the middle of a paperback I’m reading. No sewing, no glue gun, just a simple fold and a knot. For book lovers who want a page marker that actually feels personal, this project is a perfect starting point. It also happens to fit perfectly with the beginnerdiy crowd, because anyone can do it with materials already lying around.
Why a Simple Ribbon Bookmark Beats a Store Bought One
Most shop bought bookmarks are either too flimsy or too bulky. A ribbon bookmark solves both problems. It lays flat against the page, never creases the spine, and it stays put without slipping out like a paper card often does. Plus, you can customize the length to match your favorite book sizes. A longer ribbon works for thick hardcovers, while a short one is perfect for pocket paperbacks.
Another practical benefit is the tactile element. Running your fingers along a soft velvet or grosgrain ribbon while reading adds a little sensory pause. That small detail makes the bookmark feel less like a tool and more like part of the reading ritual. And because you make it yourself, you control the color, pattern, and texture completely.
The Classic Single Ribbon and Button Bookmark: A Beginnerdiy Favorite
If you’re new to this craft, start with the simplest version. Cut a piece of ribbon about twice the height of your average book plus six inches. Fold it in half and thread both ends through a button with a shank or large holes. Pull the ribbon through until the button sits in the loop, then tie a secure knot on the back. You now have a bookmark with a cute button anchor that rests above the page edge.
This design is genuinely easy, and it only takes a few minutes. Choose a chunky wooden button for a rustic feel or a shiny enamel one for a more polished look. The button also adds a tiny bit of weight, which helps the bookmark stay in place when the book is closed. For a beginnerdiy project, this one delivers a lot of personality with almost no skill required.
For a quick visual breakdown, here’s what you need:
- One length of ribbon, roughly 12 to 16 inches
- A button with a shank or two large holes
- Scissors
- Optional: a lighter to seal the cut ends
Sealing the ends with a quick pass over a flame prevents fraying, but you can skip that if you’re using a fabric that doesn’t unravel easily.
The Braided Ribbon Bookmark for a Textured Reader Experience
Instead of a single flat ribbon, try braiding three different ribbons together. This creates a thicker, more durable bookmark that feels wonderful in your hands. Take three ribbons of different colors or widths, all the same length. Tie a knot at the top, braid them tightly, and tie another knot at the bottom. Trim the ends into a V shape or leave them as simple tails.
The braided version is ideal for people who like a chunkier marker. It also gives you the chance to mix patterns without clashing, since the braid blends everything together. For example, pair a solid navy ribbon with a white polka dot and a yellow gingham strip. The result becomes a cheerful, unique reading accessory that no one else will have.
Because this method involves no sewing or gluing, it’s a great no sew ribbon craft for absolute beginners. You can also add a small metal charm at the bottom for a jingly detail, though some readers prefer a silent marker. Either way, this braided option stands up to heavy daily use.
The Tassel End Ribbon Bookmark: A Cutediy Idea for Elegant Pages
A tassel instantly makes any bookmark look fancier, and you can create one with just a few scrap pieces. Cut a piece of ribbon for the main stem. Then use a second ribbon, about four inches long, to make the tassel fringe. Tie this smaller piece around the bottom of the main ribbon so that the ends splay out like a mini tassel. You can also add a bead right above the fringe to hold everything together.
For a cleaner finish, fray the ends of the shorter ribbon by pulling out the loose threads. This gives a soft, bohemian fringe. A tassel bookmark works beautifully as a gift for a friend who loves reading, especially if you match the ribbon colors to her favorite book genre. Warm earth tones for literary fiction, bright jewel tones for fantasy, or muted pastels for romance.
This is a cutediy project because the finished result looks far more complex than the actual effort. People will assume you spent half an hour on it, but you really only invested five minutes. You can even use a piece of embroidery floss to create a thinner, more delicate tassel if that suits your style.
The Layered Ribbon and Charm Bookmark for Personalizing Your Reads
Take personalization a step further by layering two ribbons of different widths. The wider ribbon forms the base, while the thinner ribbon sits on top and is held in place with a single bead or a small clip. You can also attach a dangling charm, such as a tiny silver leaf, a moon, or a letter that represents your initial. Simply thread the charm onto a small jump ring and attach it to the bottom of the ribbon.
This design allows you to create a bookmark that truly speaks to your personality. For example, a book lover who adores mystery novels might add a magnifying glass charm. Someone who reads travel memoirs could use a tiny compass or a globe charm. The possibilities are nearly endless, and each charm takes the ribbon from basic to memorable.
Because this ribbon craft doesn’t require any sewing tools beyond a pair of pliers for the jump ring, it remains beginner friendly. The key is to keep the ribbon flat and smooth while you attach the charm. A little hot glue on the back can secure the layers if you prefer a no-fuss approach. Let the glue dry for a minute, and your unique bookmark is ready.
The Repurposed Ribbon Scrap Bookmark for Sustainable Book Lovers
Do you have a jar of leftover ribbons from old gift wrapping or clothing tags? This is the perfect project for those tiny pieces. Instead of throwing away a six inch remnant, turn it into a bookmark that reminds you of a special occasion. That red ribbon from a birthday gift, the silver one from a holiday package, or the pastel stripe from a baby shower bouquet can all get a second life.
For this version, you don’t even need to cut anything. Just tie a single knot at one end to create a small bulb that stops the ribbon from sliding through the pages. With a button or bead, you can add a little weight. If the ribbon is short, use it as a page corner marker instead. Simply slide the knot over the corner of the page you want to remember.
This sustainable angle appeals to booklovers who care about reducing waste. It also gives you a reason to actually keep those pretty ribbon scraps instead of dropping them in the trash. Every bookmark becomes a tiny memory of a past celebration. You can even tie a small paper tag with the book title and date, turning your bookmark into a reading journal of sorts.
Finishing Touches to Make Your Ribbon Bookmark Last Longer
Once you have your basic design, a few finishing touches will keep it looking great for years. First, always seal the cut ends with a quick pass over a candle flame or a lighter. Hold the edge close to the flame but not directly in it, as the heat alone will melt the fibers into a tidy seal. This works for synthetic ribbons like polyester and satin, but avoid it on natural fabrics like cotton or linen.
Second, consider adding a fabric stiffener if you want a more rigid bookmark. You can brush a thin layer of liquid starch or a mixture of glue and water onto the ribbon and let it dry flat. This gives it a card like feel while still being flexible enough to bend around the pages. You can skip this step if you prefer a soft and flowing marker.
Third, store your ribbon bookmarks in a small tin or a dedicated drawer. They’re so easy to make that you might end up with a whole collection. Group them by color or by the book genre they match. Then when you start a new read, you can pick the perfect marker in seconds, just by glancing at your stash.
Turn Your New Bookmark Into a Gift or Trade Item
These cute and simple projects also make excellent small gifts. Bundle three ribbon bookmarks with a pack of sticky notes and a pen for a lovely reading inspired present. Or set up a mini swap with fellow booklovers in your local library or online reading group. Everyone can make one bookmark in their favorite colors, then exchange them at the next meetup.
Because each bookmark reflects the maker’s taste, a swap becomes a way to share a piece of your reading personality. You might receive a bright orange bookmark with a tiny fox charm, and you’ll think of that person every time you reach page 42. It’s a small gesture that carries a lot of warmth.
If you’re teaching kids or teens this craft, try making a matching set of bookmarks for every book in a series. A different color for each installment makes it easy to find your place across multiple volumes. This also encourages young readers to take ownership of their reading routine.
A Quick Invitation to Try Your Own Ribbon Bookmark
Making a diy ribbon bookmark truly takes five minutes, and the ripple effect lasts much longer. You carry a bit of creativity into your reading corner, you rescue a scrap of pretty material from the bin, and you end up with something functional and lovely. Whether you choose a single button, a braided rope, a tassel, or a charm, each version works. No sewing required, no perfection needed. Gather a few ribbons from your stash and make one right now. Then tuck it into the current book on your nightstand and enjoy the small moment of handmade satisfaction every time you pick up the page.
Leave a Comment