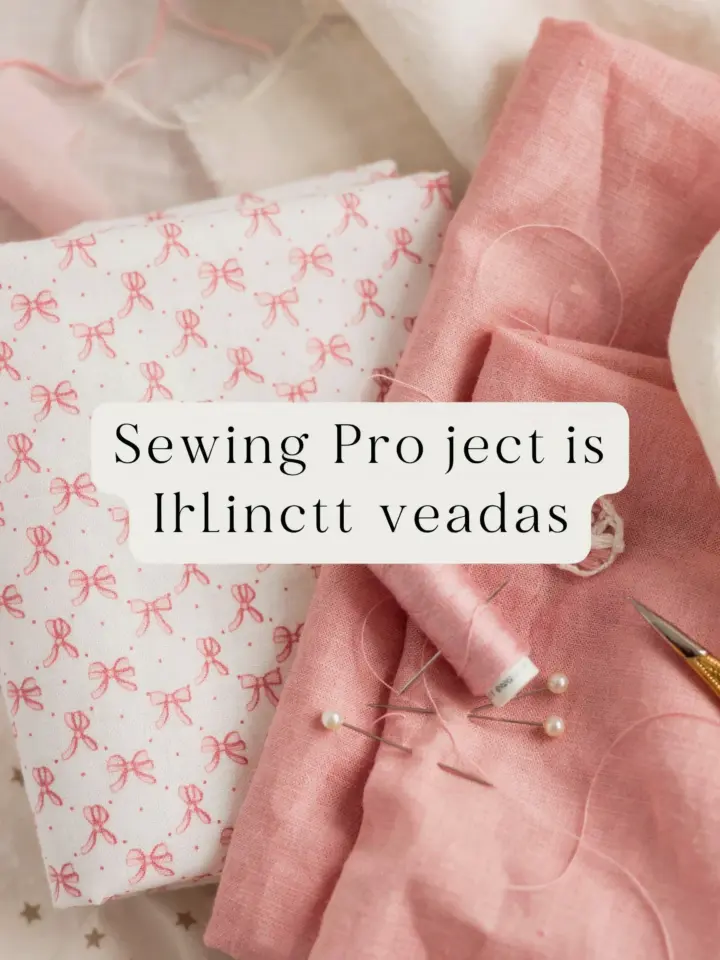
There’s a faint coffee ring on the cover of my current library book, and honestly, it’s my own fault. I got so absorbed in a chapter that I forgot my mug was perched on the armrest of my chair. That’s exactly why I started making quilted mug rugs in the first place, they’re the difference between a cozy reading corner and a stain-ridden mess. If you’re here because you have a pile of fall scraps and a sewing machine, you’re in the right place. Let’s talk about the common mistakes I’ve made (and seen others make) so your first set of quilted mug rugs actually turns out like something you want to look at every morning.
The biggest mistake I see: making your mug rug too big
Look, a mug rug is not a placemat. I’ve seen beginners cut fabric pieces that are eight inches by twelve inches, and then they wonder why it hangs off the edge of their side table. A finished mug rug should be roughly six by eight inches, or even smaller if you’re just using it to protect a desk or a bookshelf. You want it to hold a mug and maybe a small cookie, that’s it.
Here’s the thing, when you make it too big, you’ll be tempted to use it as a snack plate, and then it gets dirty faster and needs washing constantly. Not the vibe for a slow fall morning. Keep it compact. Your cutting mat and ruler will thank you.
Skipping the batting, or using the wrong kind
Some people think a mug rug is just two layers of cotton seams together. That gives you a flimsy coaster that offers zero heat protection. You need batting in the middle. I use a thin cotton batting or even an old wool blanket scrap if I’m feeling thrifty. Polyester batting can work, but it sometimes makes the mug sit unstable, and nobody wants a wobbly coffee cup.
Mistake number two is grabbing the thick puffy batting from your quilt stash. That’s meant for bed quilts. On a mug rug it looks like a pincushion. Thin batting, pressed flat before you cut, is the sweet spot. Also, if you’re using scraps, make sure the batting piece is at least a half inch larger than your top on all sides. That little margin prevents annoying shifting while you quilt.
Not squaring up your fabric scraps before you start
Fall fabrics tend to be flannel, plaid, or that lovely cinnamon-colored cotton with tiny leaves. They also tend to be cut crooked because they were leftovers. If you skip the squaring step, your patchwork won’t line up, and then you’ll be frustrated and convinced you’re bad at sewing. You’re not. You just skipped the boring part.
Take two minutes to press each scrap and trim it to a true rectangle. I keep a small cutting mat beside my sewing machine for exactly this reason. It’s tedious but it saves you from the “why is this corner sticking out” moment later. And honestly, if you have a pile of odd-shaped scraps, just trim them down to smaller uniform squares, like two by two inches. Then you can sew a simple four-patch and be done.
Quilting too far apart, or too dense
Here’s a mistake I made on my very first mug rug, I quilted lines about an inch apart, which was fine for decoration but terrible for stability. The batting shifted inside after a few washes. The opposite mistake happens too, people quilt every quarter inch until the whole thing feels like cardboard. That’s overkill for something that holds a warm mug.
For a small project like this, quilting lines around a half inch apart work great. You get a nice crinkly texture and the layers stay put. Or try stitching in the ditch along your patchwork seams, it’s faster and looks neat. I like doing a simple crosshatch with my walking foot, but I also have a friend who just stipples free motion and her mug rugs look amazing. Find a rhythm that feels comfortable and go with it.
- Use a walking foot when you’re stitching straight lines to avoid puckering.
- Change your needle before you start, a dull needle will skip stitches on flannel.
- Test your stitch length on a scrap first. Loosen the tension if your fabric is thick.
- Stop every few inches and smooth the layers with your fingers. Trust me.
Skipping the binding, then hating the raw edges
I get it, binding is the boring final step. But if you just zigzag the edges and call it done, the mug rug will fray and unravel, and you’ll have loose threads on your lap. There are a few ways to finish edges. You can do a traditional binding strip, which is honestly not that hard once you watch a tutorial. Or you can do the lazy method, sew the mug rug right sides together, leave a gap, turn it inside out, and topstitch the edge closed.
That lazy method is my go-to for gifts. It looks clean and requires zero bias tape. Just remember to clip your corners before turning, otherwise you’ll get these weird pointy bumps. And if you’re using flannel, press the seam allowance well so the edge lies flat. A wobbly binding makes the whole mug rug feel homemade in a bad way.
Forgetting to prewash those fall fabrics
Ok so fall fabric scraps, especially flannel, are notorious for shrinking. If you make a mug rug without washing the fabric first, and then someone spills coffee on it and throws it in the dryer, it will pucker weirdly. The seams might even pull. I know nobody wants to prewash a tiny scrap, but it takes five minutes and saves the whole project.
Throw your fabric pieces in a mesh laundry bag and run them through the gentle cycle with cold water. Then dry them on low. Do that before you cut, not after. I learned this the hard way when a mug rug I made from an old plaid shirt turned into a skewed mess after the first wash. The shirt was prewashed, but the cotton scraps I paired with it were not. Never again.
Overthinking it, just make a simple patchwork or log cabin
Here’s the thing, a mug rug is tiny. You don’t need a complex paper piecing pattern or curved seams. Some of the cutest ones I’ve made are just three strips of fabric sewn together. For fall, use a dark plaid strip, a solid mustard strip, and a little leaf print strip. Sew them, add batting, quilt, done. Thirty minutes, max.
If you really want to use up odd shape scraps, try a tiny log cabin block. It’s classic and forgiving. Or do a simple improvised scrappy square. No one will inspect your points with a magnifying glass, they’ll just think “oh, that’s cute.” Don’t let perfectionism stop you from making something functional. I once spent hours matching seams on a mug rug and then promptly spilled tea on it anyway.
So go dig through your fall fabric bin. Pull out those leftover orange dots and brown plaids. Make a couple of quilted mug rugs for your own cozy mornings or bundle them up as gifts. You’ll get better with each one, and honestly, even the wonky ones will hold a mug just fine. Save this post for your next sewing day and share a photo of your finished mug rugs with me, I love seeing what people make from scraps.
Leave a Comment