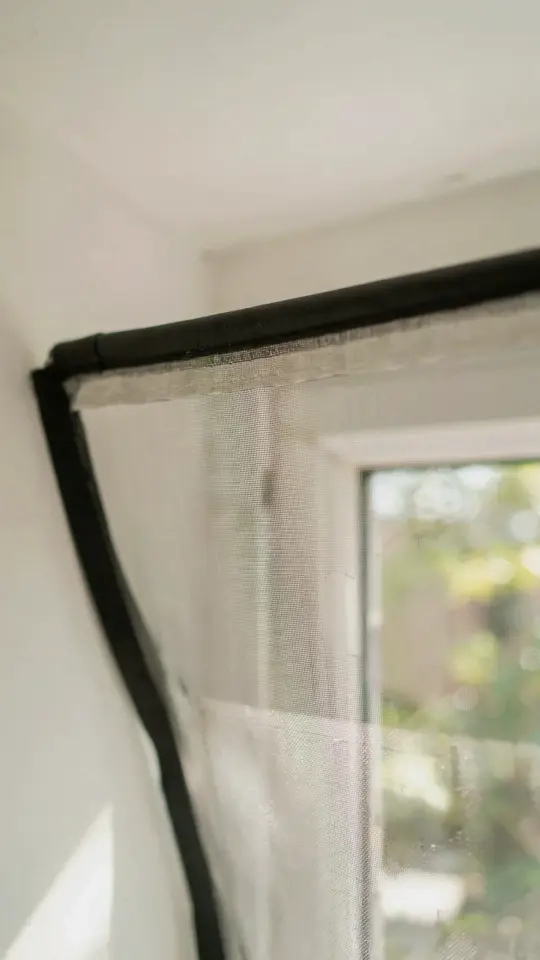
Why a fixed window screen can be a costly mistake
Last summer I learned the hard way that a standard fixed window screen isn’t always the best choice. I had installed a permanent screen on my kitchen window, thinking it would keep bugs out and let air in. But on a hot July evening, I wanted to open the window fully to catch a cross breeze, and I couldn’t. That screen was bolted in place, trapping the heat inside. That’s when I realized the common mistake: using a fixed screen that locks you in. Instead, I switched to an opening mosquito screen. It slides easily or lifts up, so I can control airflow without letting in a single mosquito. And the best part? It cost me less than twenty dollars to make the swap.
What exactly is an opening mosquito screen
An opening mosquito screen is a frame with mesh that you can move out of the way. Unlike a fixed screen that stays in place forever, this one slides horizontally or lifts vertically. You mount it on tracks or hinges, just like a small window within your window.
Most are made from aluminum or PVC frames with fiberglass mesh. You can find them at hardware stores or online for around fifteen to thirty dollars per window. They are easy to install yourself with just a drill and a few screws. That is a fraction of what a contractor would charge for custom screens.
Affordable DIY options for adding an opening screen
You do not need to be a carpenter to add an opening screen. There are budget-friendly kits that include the frame pieces, mesh, spline, and a rolling tool. I found a sliding screen kit at my local home store for twelve dollars. It came in a box smaller than a pizza. I cut the frame pieces to fit my window width, assembled them, rolled in the mesh, and mounted the track. Took about an hour.
If you already have an old fixed screen frame, you can modify it. Remove the mesh, add a hinge and a latch, and you have a homemade opening screen. That saves even more money. Here are a few low cost options to consider:
- Sliding screen kit – about ten to twenty dollars, works for double hung windows
- Lift out mesh panel – use magnetic strips to hold it in place, easy to remove for cleaning
- Repurposed window screen frame – add a simple cam latch and hinge from a dollar store
- Roll up mosquito net – a retractable option that attaches with velcro, great for renters
All of these let you open your window fully when you want fresh air, then close the screen when bugs come around.
How to measure and install your own sliding or lift screen
First, measure the height and width of your window opening. For a sliding screen, you need the width of the window track or the space between the window stops. Write down the exact numbers. Most kits allow a little trim, so you can cut the aluminum rails with a hacksaw. Wear gloves, the edges can be sharp.
Next, assemble the screen frame. Slide the corner connectors into the four pieces, tap them together with a rubber mallet. Then roll the fiberglass mesh into the groove using the spline tool. Trim the excess mesh with a utility knife. That part is satisfying.
Finally, attach the track to the bottom and top of your window frame. Use self tapping screws if you have vinyl windows, or small wood screws for wooden frames. Slide the screen in, and test it. If it sticks, sand the track a little or add a drop of silicone lubricant. My first install was a bit tight, but after a minor adjustment it slides like butter.
Three things to look for when buying a budget friendly mosquito net screen
Not all cheap screens are equal. I learned that after buying a flimsy one that tore in a month. Here is what to check before you spend a dime:
- Mesh size – choose a mesh with small holes (18×16 or finer) to block tiny gnats and no see ums. Coarser mesh lets in more bugs.
- Frame material – aluminum holds up longer than plastic. Plastic frames can warp in direct sunlight. Spend a few extra dollars for aluminum.
- Easy installation hardware – look for a kit that includes the track and mounting screws. Some cheap screens only give you the frame and mesh, and you have to figure out the mounting yourself. That can add hidden costs.
A good budget screen will last several seasons. My aluminum one is going on year three, still slides fine.
Why this simple swap improves home ventilation and comfort
Fixed screens block airflow more than you think. When the screen is permanently attached, you cannot open the window fully to let out hot air. An opening mosquito screen changes that. You slide it open, push the window up, and get a direct breeze. In summer, that can drop the temperature in a room by several degrees without running a fan.
Better ventilation also helps with humidity and indoor air quality. I noticed less musty smell in my bedroom after I switched. And because you can clean the screen easily (just slide it out and wipe it down), you reduce dust and pollen that builds up on a fixed screen. It is a small home renovation that costs very little but makes a big difference in comfort.
Final thoughts: a small change that saves money and sanity
If you have a fixed window screen that frustrates you every time you want fresh air, try swapping it for an opening mosquito screen. It is a cheap DIY project, takes less than an afternoon, and gives you control over your home’s airflow. You will not regret being able to open that window wide on a warm evening while the bugs stay outside.
Have you tried making your own sliding screen yet? I would love to hear what worked for you. Share your experience in the comments, or save this guide for your next home renovation weekend.
#WindowScreen #DIYScreen #MosquitoNet #FreshAir #HomeRenovation
Leave a Comment