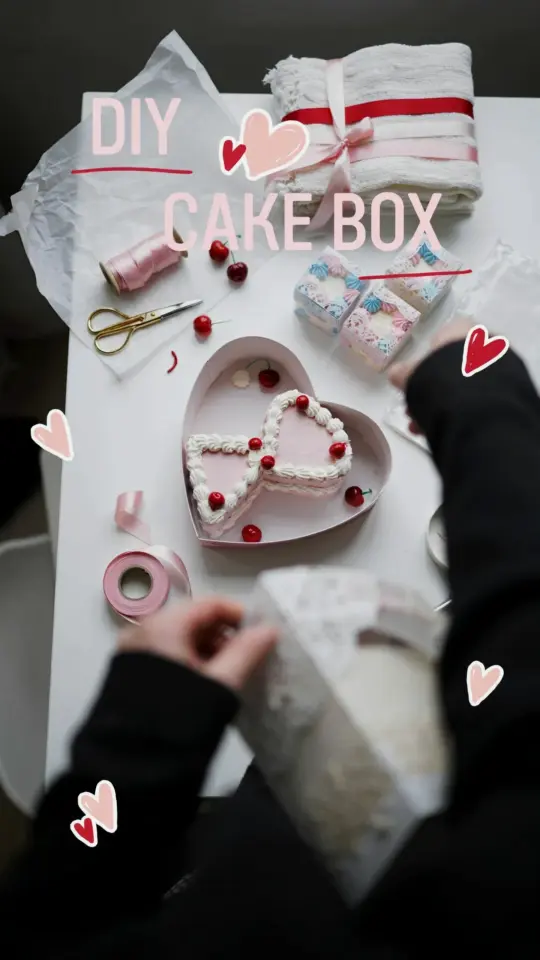
Honestly, I thought it would take me an afternoon to make a cake jewelry box that actually looked good. It took an hour. One hour. That’s it. This fake cake is hollow on the inside (secret ring storage, you guys) and it sits on my dresser right now looking like a tiny bakery prop. If you’re into aesthetic DIY and want something useful that doesn’t scream “craft project,” this is it. A cake jewelry box that hides your valuables in plain sight. Perfect for spring gifting, or for anyone who needs a little more whimsy in their jewelry storage.
Materials for a faux cake jewelry box (keep it cheap)
Let me be real with you. You do not need fancy supplies. I used stuff I already had in my closet and a few things from the Dollar Store. Here’s the list:
- A small tin can (the kind that holds tomatoes or beans). Make sure it’s clean and the label is off. I used a 6 oz can. Not too tall, not too short.
- Air dry clay. I bought the white kind in a big block. It’s soft, forgiving, and dries hard enough to hold rings.
- Acrylic paint. A little goes a long way. I picked a warm vanilla tone and a dusty rose for the “cake” color.
- Something to seal it. Clear acrylic sealer spray or Mod Podge. Your choice.
- Your rings. Not necessary for the build, but you’ll want to test fit them as you go.
One weird thing I’ll mention: the tin can’s sharp edge will cut you if you’re not careful. I lined mine with a strip of felt later. Saved my fingers.
How to prep your tin can base (no fancy tools needed)
Ok so first, I cut the top and bottom off the tin can? No. Actually, I kept the bottom on. I used a can opener that left a smooth rim, then I sanded it a bit with sandpaper. This is your cake “drum.” The hollow inside is where the jewelry goes.
Here’s the thing: you need the tin to sit flat. If it wobbles, the whole project tips over and your rings scatter. So check the bottom. If it’s dented, tap it straight with a hammer (gently). Not gonna lie, I dented mine more before I got it right. That’s fine. You’re covering it with clay anyway.
Wrap the outside of the tin with a thin layer of clay. Not too thick, or it won’t dry properly. Press it smooth. This is the “cake” base. The top remains open for now. I left the clay a little uneven on purpose, gives it a handmade feel.
Air dry clay frosting technique (the part that looks hard but is easy)
This is where the cake jewelry box comes to life. Roll a long snake of clay. Pinch it. Fold it. Make it look like piped frosting. I don’t have a piping bag, so I just used my fingers. Honestly, the lumpier the better. Real frosting isn’t perfect.
I draped the clay rope around the top rim of the tin, letting some hang over the edge like a drip. Then I made a few small balls and placed them on top like decorative pearls. And a tiny rosette on the center. That took maybe ten minutes.
Let it dry for 24 hours. I know, I know, an hour of active work, then a day of waiting. But it’s worth it. If you try to paint it while damp, the clay absorbs the paint weirdly. Trust me, I did that once. Never again.
Painting tips for a realistic cake look (acrylic paint is your friend)
Right, so once the clay is bone dry, I painted the whole thing with a base coat of off-white. Two coats. Then I mixed a tiny bit of brown into the white for a warm cake color. But here’s a specific detail: I painted the “frosting” drips in a slightly different shade, like a pale buttercream. It gives depth. You don’t need to be precise. Just dab it on.
For the “cake” texture, I used a dry brush technique. I dipped a stiff brush in a darker shade, wiped almost all of it off, then lightly dragged it across the clay. It catches the ridges. Looks like baked cake crumbs. I added a little sparkle to the frosting with a clear glitter topcoat. Not necessary, but fun.
Small aside: I really don’t like those thick craft paints that come in plastic bottles. They get gloppy. Use artist acrylics if you can. They’re more liquidy and blend better.
Adding rings and finishing touches (make it functional)
Once the paint is dry, seal it. I used a matte acrylic sealer spray because I wanted it to look edible, not shiny. But you can do gloss too. That’s your call.
Now for the jewelry part. I place my rings directly on top of the “frosting” rosette, but you can also make a little slit in the clay beforehand to hold ring shanks. Mine just sits there. The cake jewelry box opens by lifting the top layer (the frosting part) off. Or you can pull the whole clay top off. I glued a small piece of felt inside the lid so rings don’t get scratched.
A warning: if you make the frosting too tall, the lid won’t fit over your rings. So measure your rings against the tin height. I had to shave off a bit of clay after it dried. Annoying, but fixable with a craft knife.
Why this beginner DIY is the perfect gift (and why you should try it)
Here’s the thing about beginner DIY projects. They should feel like a victory, not a chore. This one does. In one hour you go from a can of beans to a ring holder that looks like a bakery display. That’s satisfying.
Gift it to a friend who loves jewelry but hates jewelry boxes. Gift it to yourself if you’re tired of losing rings in your purse. It’s small, it’s cute, and it sparks conversation at parties. Not kidding, I had two people ask where I bought it. They didn’t believe it was air dry clay until I showed them the tin can inside.
Also, this is a great project if you’re into aesthetic trends like “cottagecore” or “whimsigoth” or whatever the internet calls it this week. It fits right in. Just pick your colors accordingly.
A last note: don’t overthink it. I made mine slightly lopsided. I like it better that way. It looks like a real bakery cake that someone baked at home. Imperfections are the point.
So go find a tin can. Get some clay. Paint it. Hide your rings. You’ll be done before dinner.
If you make one, I’d love to hear about it. Tag me on Pinterest or leave a comment below.
#cakejewelrybox #diyjewelrybox #fauxcake #aestheticdiy #beginnerdiy
Leave a Comment