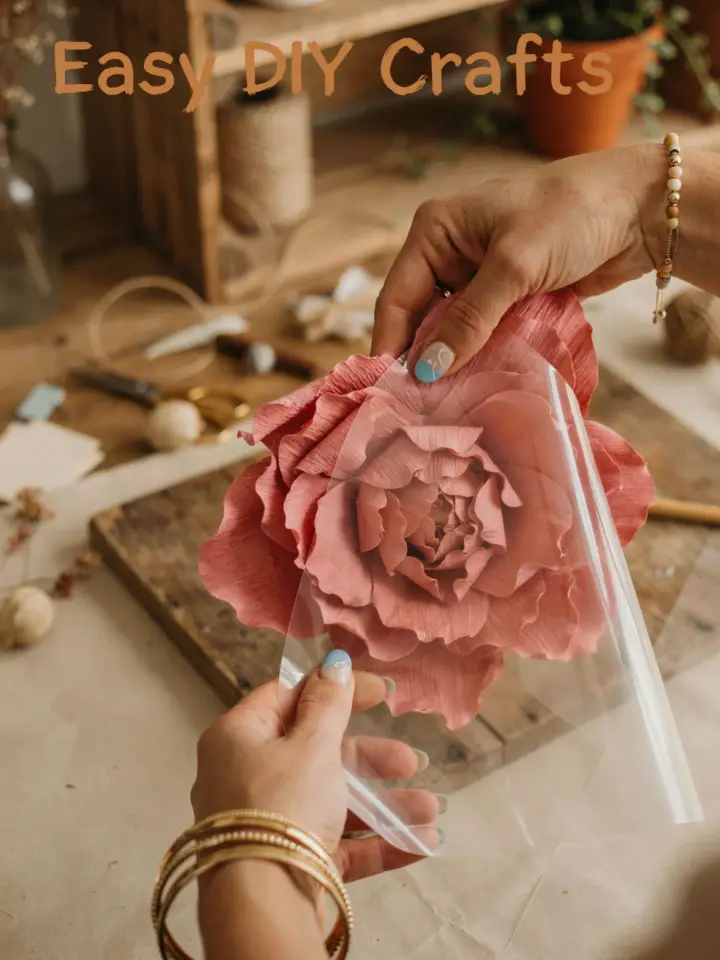
If you have ever wanted to add handmade charm to your living space without spending much money, tissue paper roses diy is the perfect place to start. These soft, fluffy flowers look surprisingly elegant once you get the hang of the basic twist and fluff technique. I have made dozens of them for birthdays, baby showers, and even a friend’s wedding arch. The best part is you only need a few supplies that you probably already have at home. Below I have gathered seven different themes you can try, each with its own personality and use. Pick one, mix and match, or make them all for a full bouquet that feels personal and unique.
Romantic tissue paper roses for centerpieces and gifts
Nothing says love like a handful of deep red or blush pink roses. For a romantic look, choose two shades of tissue that blend well together. Layer three sheets of the darker color on top of one lighter sheet, then fold them like a fan. Round the ends with scissors so the petals curl softly. After you twist the wire around the center, gently separate each layer one by one. This creates a full, lush bloom that works beautifully in a mason jar vase or tied to a wrapped present. I like to add a few sprigs of fake greenery from the dollar store to make the arrangement feel more natural.
Colorful rainbow tissue paper roses for party decorations
When you need a pop of cheer for a birthday or a kid’s room, go for a rainbow mix. Grab single sheets of tissue in yellow, orange, pink, purple, and blue. Stack all five colors together, making sure the lightest is on top. Follow the same fan fold and cut technique, but here is the trick: when you fluff the petals, keep the top layer a little tighter so the ombre effect shows. These look fantastic clustered on a plain white wall using double‑sided tape. They also make adorable photo booth props if you attach them to thin wooden dowels. I once made twenty of them for a five‑year‑old’s unicorn party and the kids refused to stop holding them.
Easy giant tissue paper roses for wall art
If you want something that really makes a statement, try large‑scale roses. Use six to eight sheets of tissue cut into squares about 12 by 12 inches. The bigger the square, the larger the final flower. Fold the stack accordion‑style with pleats about 1 inch wide. Secure the center with floral wire, then trim both ends into a rounded or pointed shape depending on the petal style you like. Now the fun part: pull each tissue layer upward toward the center, one sheet at a time. Do not rush. The outer layers should be fluffed fully, while the inner layers stay a bit tighter to mimic a real rose bud. Hang these on a plain wall above your sofa or cluster them above a bed for a romantic focal point.
Mini tissue paper rosebuds for gift wrapping and cards
Sometimes you want a tiny accent that adds a delicate touch. Mini rosebuds are quick to make and use very little material. Cut a single sheet of tissue into four 5‑inch squares. Stack two squares together, fold them into fans with narrow pleats (about half an inch wide), and twist a thin green pipe cleaner around the middle. Trim the ends into a slight curve, then fluff just the top few layers. Leave the bottom layers folded tight so the bud stays closed. Attach these to a gift box with a dot of glue, or thread the pipe cleaner through a card and tape it on the inside. You can make a whole set in under ten minutes, and they look much more special than a store‑bought bow.
Ombre tissue paper roses with painted edges
For a custom color gradation that matches your decor exactly, paint your own tissue. Lay out a white or very light tissue sheet on a protected surface. Use a soft brush and a mix of water and acrylic paint to dab color along the edges. Let the paint dry completely before stacking. You can make a single rose that shifts from pale peach to warm coral. The technique is the same as the classic method, but you have total control over the shade. I once painted the edges of fifty white roses in soft lavender for a friend’s bedroom refresh. They looked high‑end without the high cost. Just be careful not to wet the tissue too much, or it will tear. Work in thin layers and let each side dry.
Rustic tissue paper roses with burlap and twine
Farmhouse style loves simple, earthy touches. For a rustic vibe, use neutral tissue colors like cream, tan, or sage green. After forming the rose, wrap the stem
#tissuepaperrose #diycraft #paperflower #homedecor #easydiy
Leave a Comment