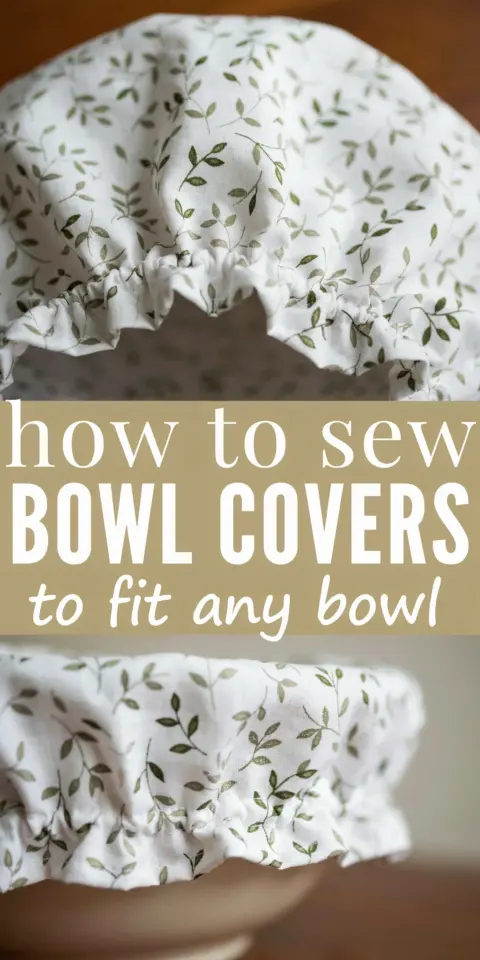
If you have tried sewing bowl covers before and ended up with a cover that either slides off, won’t stay put, or looks lumpy, you are not alone. Sewing bowl covers is a simple project, but small mistakes can turn a quick win into a frustrating mess. I have made most of these errors myself, and I want to help you skip them. In this guide I will walk through the most common pitfalls and show you exactly how to avoid them so your first (or next) set of bowl covers fits snugly, washes well, and actually makes your kitchen feel organized.
Choosing the Wrong Fabric for Your Bowl Covers
One of the biggest mistakes beginners make is picking a fabric that is too stiff, too thin, or has too much stretch. Cotton quilting fabric works well for this project because it is firm but not heavy. Avoid flannel or jersey knit unless you reinforce them, because they stretch out of shape after a few washes.
Another mistake is using fabric that is not food safe or that contains synthetic coatings that can’t handle heat. Stick to 100 percent cotton or a cotton linen blend. If you want a waterproof finish, look for nylon coated fabric made for reusable bowl covers, not vinyl tablecloth material which cracks and peels.
Here is a quick checklist for fabric selection:
- Choose medium weight cotton or cotton linen blend.
- Avoid slippery fabrics like satin or silk they shift while sewing.
- Do not use stretchy knits unless you plan to add a casing for elastic.
- Always prewash your fabric to prevent shrinkage later.
Measuring and Cutting Incorrectly
Many people cut their fabric to the exact diameter of the bowl opening. That gives a cover that barely sits on top and falls off the moment you move the bowl. You need to add extra width for the sides that come down over the rim and for the elastic casing or hem.
Measure the outer diameter of your bowl (across the top from rim edge to rim edge). Then add at least two inches for the drop down the sides plus another half inch for the hem. For a standard cereal bowl that is six inches across, cut a circle that is eight and a half to nine inches wide. For larger mixing bowls add three inches total.
When you cut, use a rotary cutter and a cutting mat. Scissors can cause wavy edges that make the cover uneven. Mark the center point with a pin so you know where to place the elastic channel later.
Adding Elastic the Wrong Way
One common error is sewing the elastic directly onto the edge of the fabric. That makes the cover pucker unevenly and the elastic can twist inside the seam. Instead you should create a casing a folded channel that holds the elastic flat and allows it to slide easily.
To make a casing, fold the raw edge of the fabric under by a quarter inch, then fold again by half an inch (or the width of your elastic plus a little extra). Sew close to the inner folded edge, leaving a two inch opening to insert the elastic. Use a safety pin to thread the elastic through the casing.
Another mistake is cutting the elastic too short or too long. Measure the circumference of your bowl rim, then cut the elastic to about 80 percent of that length. For a bowl with a twenty inch circumference, cut elastic around sixteen inches. That gives enough tension to grip the bowl without distorting the fabric.
Skipping the Seam Finish
Raw edges on the inside of a bowl cover can fray and shed threads onto your food. It is not just messy it is unsanitary. Beginners often skip the seam finish because they think the casing covers the edge, but the raw edge of the fabric is still exposed inside the casing.
The simplest fix is to use a zigzag stitch or a serger along the raw edge before you fold the casing. If you do not have a serger, you can run a row of zigzag stitches at the edge, then fold and sew as usual. Another option is to bind the edge with bias tape, which gives a clean look and prevents fraying completely.
For a zero waste approach, you can cut your fabric with pinking shears. The zigzag cut reduces fraying but will still loosen over time. I recommend at least a zigzag stitch for anything that will be washed weekly.
Making the Bowl Cover Too Tight or Too Loose
If you stretch the elastic too much while sewing the casing closed, the cover becomes too tight and will not sit flat. If you leave the elastic too loose, the cover slides off at the slightest touch. The trick is to secure the elastic ends after testing the fit on the actual bowl.
After you thread the elastic through the casing, pin the ends together but do not stitch them yet. Place the cover over your bowl and adjust the tension until it fits snugly around the rim without distorting the fabric. Then stitch the elastic ends together with a square knot and a few hand stitches, or use a small piece of ribbon to tie them. Only then close the casing opening.
Also check if your bowl has a wide rim or a narrow one. A bowl with a thick rolled rim needs slightly looser elastic because the fabric has to stretch over a larger shape. For bowls with a sharp thin rim, the cover can be a bit
#sewingbowlcovers #bowlcovers #diybowlcovers #sewingtutorial #kitchendiy
Leave a Comment