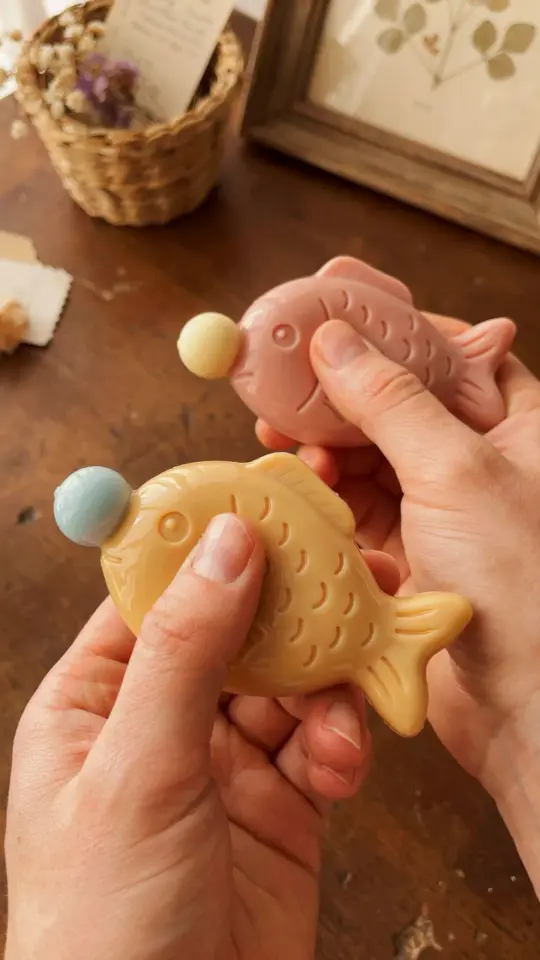
If you have ever watched a child blow bubbles, you know the pure joy that comes with each puff of air. That same excitement can power a simple craft activity that turns a flat piece of paper into a playful, wiggly friend. This paper goldfish craft for kids combines the fun of blowing bubbles with a hands-on art project, making it a perfect choice for a quiet afternoon at home or a quick classroom station. With just a few common supplies, children can create a goldfish that actually moves and blows bubbles through a straw. No special skills are needed, and the process is forgiving enough for even the youngest crafters.
What You Need for This Paper Goldfish Craft
Before you start, gather these basic materials. You probably already have most of them in your craft drawer. If not, they are easy to find at any dollar store or grocery aisle.
- Construction paper (orange, white, and a small scrap of black or use googly eyes)
- A drinking straw (any color works, but a clear or white straw looks nice)
- School glue or a glue stick
- Scissors
- A pencil or crayon for tracing
- A small cup or bowl of water
- Liquid dish soap (the dollar store kind is fine)
That is the full list. Nothing fancy. The water and soap are for the bubble solution, which you will mix right before the blowing part. I like to keep the soap in a small dish so little fingers can dip the straw easily without making a mess.
Step by Step: How to Make the Paper Goldfish Body
Start by drawing a simple fish shape on orange construction paper. You can sketch it freehand if you are comfortable, or trace a small fish template printed from the internet. The shape should be roughly oval with a pointed tail. Cut it out carefully. This will be the main body of your goldfish.
Next, cut a smaller oval from white paper for the belly. Glue this white oval onto the center of the orange fish body. This gives the goldfish a lighter underside and makes it look more realistic. Then add an eye. You can use a small black circle cut from paper or stick on a wiggly googly eye. I prefer googly eyes because they add personality and bounce when the fish moves.
Now for the part that makes the craft special. On the back side of the goldfish (the side that will face you when you hold it), cut a small slit about an inch long right in the center of the body. This slit will hold the straw. Make it just wide enough for the straw to slide through snugly but not so tight that it rips the paper.
Adding the Bubble Blowing Straw
Take your straw and insert one end into the slit from the back of the goldfish. Push it through until about an inch of the straw sticks out of the front (the belly side). The rest of the straw should stick out from the back, like a long tail. This positioning lets the child hold the straw from behind and blow through it while the goldfish faces forward.
Secure the straw in place with a dab of glue where it passes through the paper. Let the glue dry for a minute. Now the goldfish is ready to blow bubbles. Dip the front end of the straw (the part sticking out near the belly) into your bubble solution. A quick dunk is enough. Then blow gently through the back end of the straw. Bubbles will form at the front end, right in front of the goldfish’s mouth. It looks like the fish is blowing them.
If you want a more dramatic effect, cut a small circle of paper (about the size of a quarter) and glue it around the front end of the straw to look like the fish’s lips. This hides the straw hole and makes the bubbles appear to come directly from the fish’s mouth.
Tips for Making the Goldfish Wiggle
The real magic of this wiggly paper goldfish craft happens when you hold the straw and gently tap or wiggle it. Because the paper fish is only attached at one point, it will bob and sway as you move the straw. To increase the wiggle, cut a second slit on the back side, near the tail, and insert another short piece of straw or a paper clip. This creates a pivot point that makes the tail flop side to side.
Another easy trick is to attach a small piece of string to the back of the fish (near the tail) and let it hang loose. When you blow bubbles, the air movement makes the string swoosh, adding a sense of motion. Keep the paper lightweight. Thicker cardstock can still work, but it will not wiggle as freely. Construction paper is ideal because it is thin and flexible.
If your goldfish tears at the slit, do not worry. Just tape a small reinforcement patch of paper on the back side around the slit. This is a common fix and children can do it themselves with a little help.
Why This Activity Is Great for Beginners
This easy DIY craft
#papergoldfishcraft #kidscrafts #diycraftsforkids #blowingbubblescraft #easykidscrafts
Leave a Comment