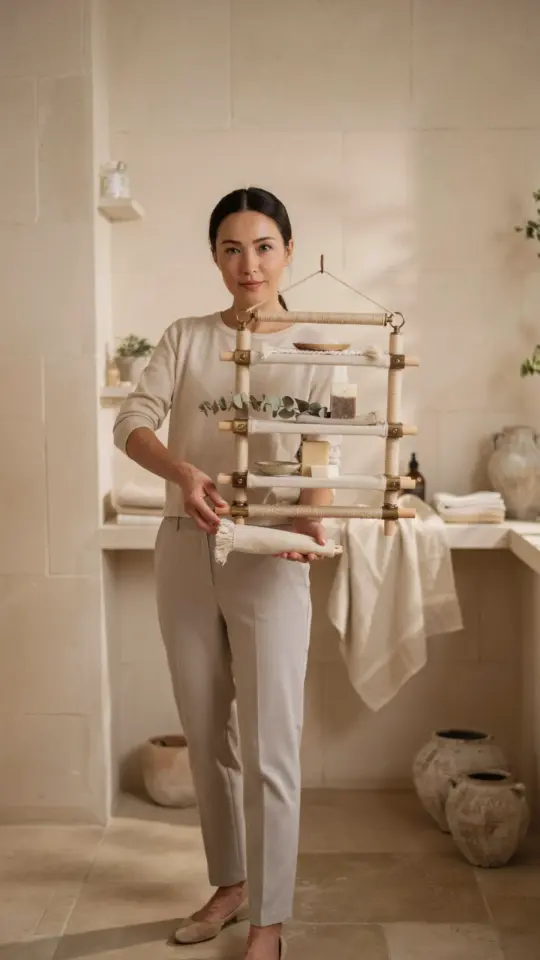
Why a No Drill Towel Rack Changed My Bathroom Organization Forever
Let’s be honest. Most of us have that one towel that never dries properly or the corner of the bathroom that looks like a laundry explosion. A no drill towel rack is a simple fix that costs almost nothing and takes ten minutes to install. I used to avoid hanging anything because I didn’t want to patch holes later. Then I found SnapRack and realized I didn’t have to choose between organized towels and intact walls. This beginner-friendly approach to bathroom organization works for renters, homeowners, and anyone who hates drilling.
Understanding a No Drill Towel Rack and How It Works
A no drill towel rack uses adhesive or tension to stay in place without screws or anchors. The most common type is a stick-on bar that bonds to tile, glass, or painted drywall. Some versions clamp onto cabinet doors or fit inside a shower frame. The key is that they don’t leave holes, so your deposit stays safe.
SnapRack is one example. It has a strong adhesive strip that you peel, press onto a clean surface, and wait 24 hours. After that, you can hang wet bath towels, hand towels, or even a robe. The weight limit is usually around five to eight pounds, which is more than enough for most bathroom needs.
Step by Step Installation for Absolute Beginners
If you have never installed anything in your life, this is for you. The only tools you need are soap, water, and a dry cloth. No drill, no level, no measuring tape required. Here is how to do it in four steps:
- Clean the wall. Wipe the area with soap and water. Remove any dust, grease, or soap scum. Let it dry completely.
- Peel the adhesive liner. Do not touch the sticky side with your fingers. Oils from your skin can reduce adhesion.
- Press firmly. Place the rack where you want it. Push hard for thirty seconds across the whole surface. Use a cloth to avoid leaving fingerprints.
- Wait 24 hours. Do not hang towels immediately. The adhesive needs time to bond with the wall. After a full day, you can load it up.
That is it. No special skills, no mess, no frustration. If you make a mistake, most adhesive racks can be repositioned within the first minute. After that, they set permanently.
Where to Place Your Towel Rack for Best Results
Location matters more than you think. A no drill towel rack works best on smooth, nonporous surfaces. Glazed tile, fiberglass shower walls, glass doors, and painted drywall are ideal. Avoid wallpaper, textured wallpaper, or unfinished wood. The adhesive won’t stick well there.
For small bathrooms, I recommend placing the rack directly above the toilet or beside the sink. These spots keep towels within reach but out of the way. If your bathroom has a cabinet door, you can use a over the door no drill rack instead. That type hooks over the top edge and requires zero adhesive.
One more tip. Do not install the rack where water splashes constantly. Direct shower spray can weaken the adhesive over time. A spot twenty inches away from the shower head is safer.
Keeping Towels Organized Without Damaging Your Walls
Bathroom organization is not just about hanging one towel. It is about having a system that stays neat. A no drill towel rack gives you a dedicated home for each towel, which stops the pile on the floor. I use two racks. One for the bath towel and one for a hand towel. That way my partner and I never argue about wet towels on the sink.
If you have extra towels, fold them and stack on a shelf or inside a basket. The rack handles the daily use items. This simple setup makes the bathroom feel cleaner without any major renovation. And because the rack is rentalfriendly, you can take it with you when you move.
Common Mistakes to Avoid With Adhesive Towel Racks
Even though installation is easy, people still mess up. I have seen it happen. The biggest mistake is not cleaning the wall properly. Soap scum and dust act like a barrier. The adhesive sticks to the dirt, not the wall, and falls off after a week.
Another mistake is hanging heavy wet towels too soon. Give the adhesive the full 24 hours to cure. Also, avoid pulling the rack sideways. Always lift towels straight up. Side pressure can peel the edge.
If your rack does fall, don’t panic. Clean the surface and try a different adhesive strip. Some brands sell replacement strips for exactly this reason. Inspect the rack every few months and replace the adhesive if you see peeling.
Styling Your No Drill Towel Rack for a Clean Minimal Look
You do not need to buy a fancy rack to get a clean aesthetic. A simple matte black or white adhesive bar blends into most bathrooms. I chose a slim chrome rack that matches my faucet. It looks built in, even though it is not.
Fold your towels in thirds and drape them evenly. This creates a uniform line that looks intentional. If you have multiple racks, space them evenly. For diyhomedecor enthusiasts, you can add a small wooden shelf above the rack for plants or soap. Just make sure the shelf is lightweight and also uses adhesive or command strips.
The goal is to avoid clutter. One rack, two folded towels, and maybe a small basket for washcloths. That is enough to make your bathroom feel larger and more organized.
Leave a Comment