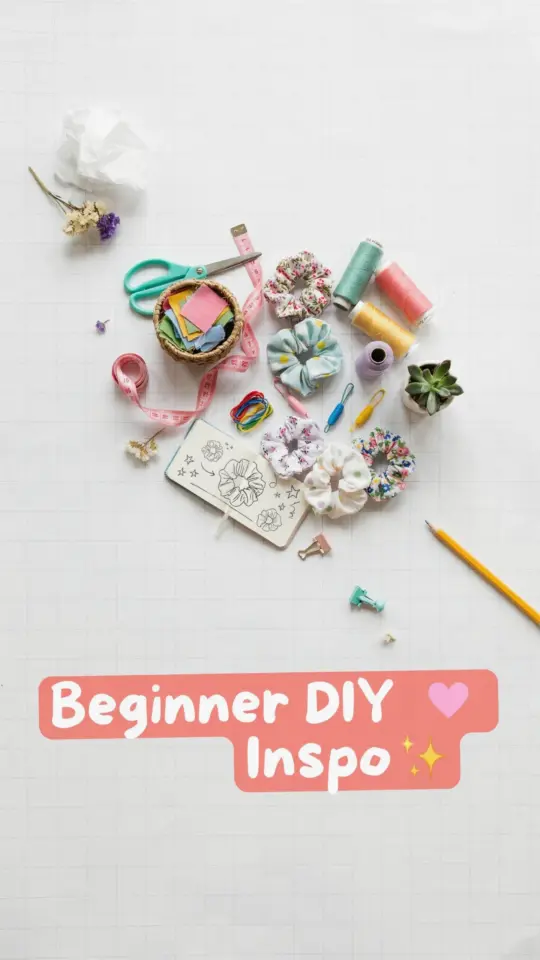
If you have ever tried a hair scrunchies tutorial and ended up with a lopsided, twisted mess, you are not alone. Making your own fabric hair ties seems simple, but a few small mistakes can turn a quick project into a frustrating one. This guide walks you through every step from cutting fabric to sewing the loop, and it highlights the common pitfalls beginners face so you can avoid them. I have made every mistake in the book, and I am sharing exactly what to watch out for. Ready to start? Save this pin for your next sewing session.
Choosing the Wrong Fabric for Your Scrunchies
The fabric you pick makes or breaks the scrunchie. Many beginners grab stiff cotton or heavy denim, thinking any fabric will work. But stiff fabric does not gather well, and thick seams become bulky and uncomfortable. You want something with a bit of drape and a soft hand.
Lightweight cotton voile, rayon, linen blends, and even old silk scarves work beautifully. Jersey knit (like an old t-shirt) is also beginner friendly because it does not fray. Stay away from anything that is too slippery, like satin charmeuse, until you have more practice. That fabric slides around and makes sewing the tube very tricky.
One more tip: pre-wash your fabric. Shrinkage after you finish the scrunchie can ruin the final size. I learned this the hard way when a perfectly fitted scrunchie became loose after one wash.
Cutting Fabric Too Small or Too Large
Cutting the rectangle is the most common source of sizing errors. Beginners often guess the dimensions, and the result is either a tiny baby scrunchie that barely holds hair or a huge floppy one that looks like a neck pillow. There is a simple formula that works every time.
For a standard adult scrunchie, cut a rectangle that is 3.5 inches by 22 inches. That gives you a nice gathered look. If you want a smaller scrunchie for thin hair or a child, cut 3 inches by 18 inches. For a super voluminous scrunchie, go up to 4.5 inches by 24 inches. Write these numbers down and stick to them until you feel confident adjusting.
Also, make sure you cut straight. A wavy edge creates uneven seams that are harder to sew neatly. Use a rotary cutter and a ruler, or at least a long straight edge and sharp scissors.
Sewing the Tube the Wrong Way
This mistake is incredibly easy to make, even for people who have sewn before. You sew the long edge of the rectangle, creating a tube, but you accidentally sew it with the right sides facing out instead of inward. When you turn it, the raw edges show on the outside, and it looks unfinished. The fix is simple but you have to remember it every time.
Place the fabric with the right sides together the pretty sides facing each other. Then sew along the long edge with a 1/4 inch seam allowance. That seam will be hidden inside the tube. If you are not sure which side is the right side, mark the wrong side with a small pin or a piece of tape before you start.
One more detail: backstitch at both ends of that long seam. If you skip the backstitching, the seam pops open when you pull the tube right side out, and you have to redo the whole thing.
Forgetting or Misplacing the Turning Gap
After you sew the tube, you need a small opening to turn it right side out and to insert the elastic. Many beginners sew the entire tube closed, then wonder how to get the fabric right side out. Others leave a gap that is too small, making it hard to push the elastic through.
Here is the trick: when you sew the short ends of the tube together (to form a loop), stop sewing about 1.5 inches before you reach your starting point. That leaves a gap. Mark the gap with a pin so you do not accidentally sew over it. A gap of about 1.5 to 2 inches is ideal enough to fit a safety pin and your fingers through.
If you accidentally sew the gap shut, do not panic. You can rip out the stitches with a seam ripper. Just go slowly so you do not damage the fabric.
Using the Wrong Amount of Elastic
Too much elastic makes a scrunchie that slides off your hair. Too little makes it impossible to stretch over a ponytail. The standard length for elastic in a 22 inch fabric tube is about 8 inches. That works for most hair types. If you have very thick or curly hair, go with 9 inches. For thin or fine hair, 7 inches is plenty.
Use a soft elastic, not a stiff braided one. Soft elastic is easier to thread through the tube and more comfortable against your hair. Cut it straight across, then use a safety pin attached to one end to guide it through the tube. When both ends come out the gap, overlap them by about half an inch and sew them together securely. I use a zigzag stitch for this, but a straight stitch with several repeats works too.#hairscrunchiestutorial #beginnersewing #diyhairties #easysewingproject #fabricscrunchies
Leave a Comment