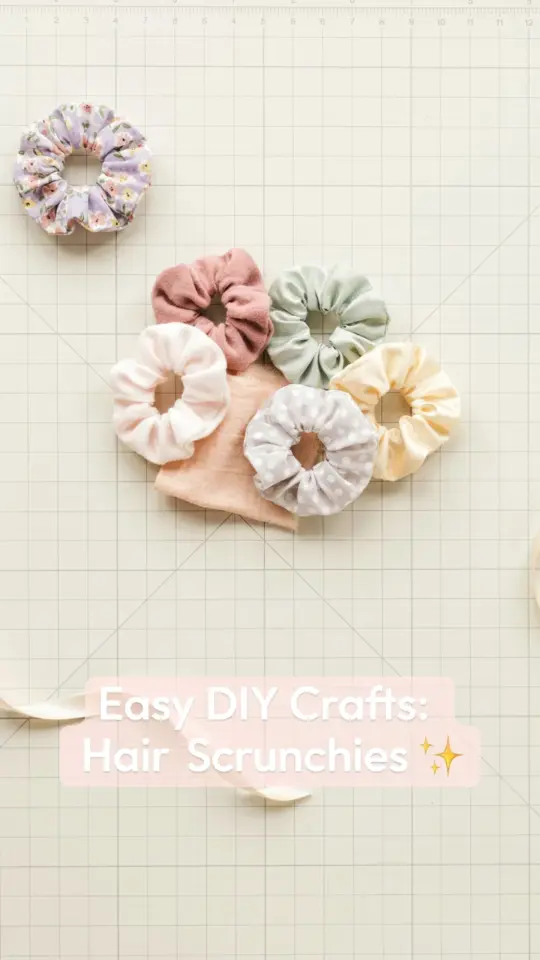
Why Sew Your Own Hair Scrunchies This Season?
If you are looking for a Hair Scrunchies Tutorial that actually works for real life, you have landed in the right place. This fall, scrunchies are back in a big way, and not just as a nostalgic throwback. The trend is leaning toward soft, oversized styles made from cozy fabrics like corduroy, velvet, and flannel. Instead of buying them at the store, you can make your own in under 20 minutes with scrap fabric you already have. This is the perfect Easy Sewing Project for anyone who wants to use up leftovers from other projects or create a thoughtful handmade gift.
I started making scrunchies a few years ago when I realized I had a drawer full of fabric scraps that were too small for quilting but too pretty to throw away. Now I make a batch every season, adjusting the colors and textures to match what is trending. Velvet for winter gatherings, lightweight cotton for spring, and plaid for fall. It is a small project that gives a big satisfaction hit.
What You Need for This Beginner Sewing Project
Before you start, gather your materials. This Beginner Sewing list is short and forgiving. You likely have most of these items already.
- Fabric scrap: about 4 inches by 22 inches for a standard scrunchie (adjust width for bigger or smaller styles)
- Elastic: 1/4 inch or 3/8 inch wide, about 8 inches long (or use hair elastic for no-sew option)
- Sewing machine or needle and thread
- Scissors or rotary cutter
- Pins or clips
- Safety pin or bodkin for turning and threading elastic
If you are brand new to sewing, choose a woven cotton fabric first. It does not slip around like silk or stretch like jersey. You can practice straight stitches and get a clean result on your first try.
Step by Step Easy Sewing Project for Beginners
This Easy Sewing Project for Beginners follows a simple tube method. You will sew a long rectangle, turn it right side out, insert elastic, and stitch the ends together. Let’s break it down.
First, fold your fabric rectangle in half lengthwise with right sides together. Pin along the long edge and one short end, leaving the other short end open. Sew a straight stitch down the long edge using a 1/4 inch seam allowance. Then sew across the short pinned end. You now have an open fabric tube.
Clip the corner at the sewn short end to reduce bulk, being careful not to cut the stitches. Use a safety pin attached to the open end to turn the tube right side out. Push the safety pin through the tube, pulling the fabric until the entire tube is right side out. Press it flat with an iron if you want a crisp look, though some scrunchies look better with a slightly rumpled texture.
Tips for Choosing Fabric for Your Fabric Scrunchie
Not every fabric works the same way for a Fabric Scrunchie. The weight and stretch matter more than you think. For a scrunchie that holds its shape and stays put in thick hair, choose a medium weight cotton, linen, or double gauze. If you want a scrunchie that looks voluminous and soft, go with a lightweight fabric like rayon or a thin polyester satin.
I personally avoid heavy denim or upholstery fabric because they create a stiff scrunchie that does not drape nicely. Velvet is a wonderful choice for winter, but it can be slippery. Use a walking foot on your machine or a longer stitch length to help the layers feed evenly. For summer, linen or cotton voile gives a loose, breezy look that pairs well with messy buns and braids.
How to Cut and Prepare Your DIY Scrunchies
For DIY Scrunchies, the cutting step is where you can customize the final look. I like to cut my rectangle on the grain line to keep the fabric from stretching crookedly. A standard size is 22 inches long by 4 inches wide. If you want a mini scrunchie for a ponytail, cut 12 inches by 3 inches. For a jumbo style that makes a statement, cut 30 inches by 5 inches.
Before you cut, wash and press your fabric. Pre-washing prevents shrinking later and removes any sizing that might make the fabric stiff. After cutting, you can also serge or zigzag the raw edges if you are worried about fraying, but for cotton it is not strictly necessary because the seam will be enclosed inside the tube.
Sewing the Tube and Inserting Elastic
Now the fun part. After you have sewn the long seam and turned the tube, take your piece of elastic. Attach a safety pin
#HairScrunchiesTutorial #EasySewingProject #DIYScrunchies #FabricScrunchie #BeginnerSewing
Leave a Comment