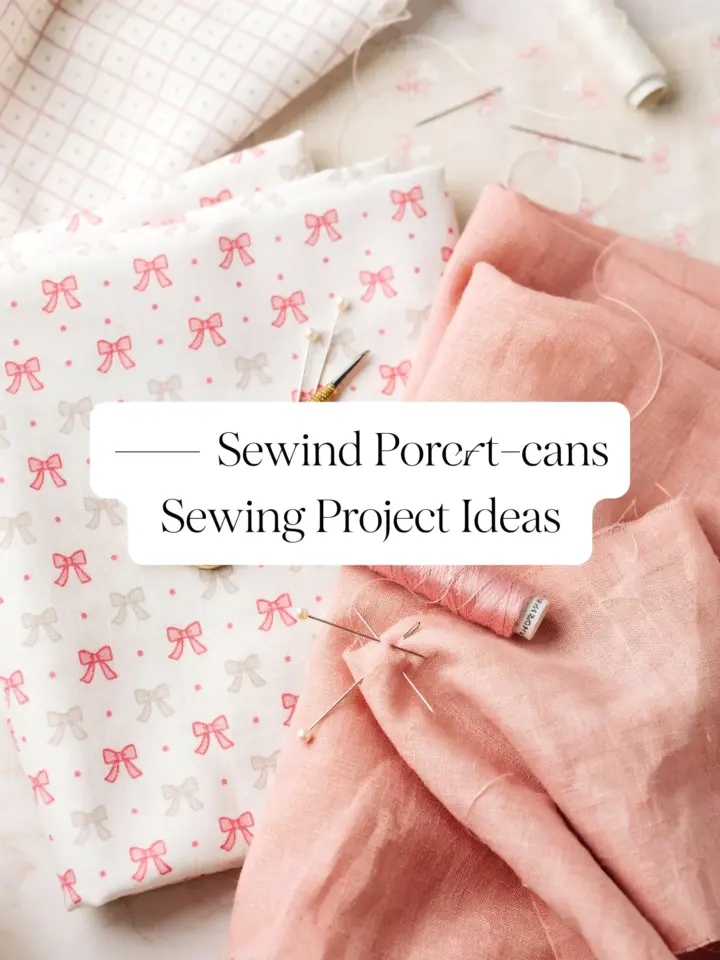
If you have a stack of leftover fabric scraps and want to try something rewarding, easy sewing projects for beginners are the perfect place to start. I remember my first time threading a machine and feeling nervous about cutting into nice fabric. But a simple tote bag changed everything for me. It is forgiving, uses up those odd pieces you have been hoarding, and you end up with something you actually use. In this post I will walk you through a straightforward tote bag tutorial, then share a few other stash buster ideas that build confidence without overwhelming a new sewer.
Why a simple tote bag is the best beginner sewing project
A tote bag is basically a rectangle with straps. That makes it an ideal beginner sewing project because you only need straight lines and basic seam allowances. You can practice threading your machine, winding a bobbin, and keeping an even stitch length without worrying about curves or tricky corners. Plus, the finished bag is genuinely useful at the grocery store or library. I have made at least a dozen totes from old pillowcases, denim scraps, and even a worn out shirt. Each one looks a little different, but they all hold up well. Start with cotton fabric that is not too slippery. Quilting cotton works great, but a medium weight canvas or linen gives a sturdier feel.
Materials and tools for a scrap fabric tote bag
Before you cut anything, gather the basics. This is where scrapfabriccrafts really shine because you probably already own most of these items. For a standard sized tote you need:
- Two pieces of fabric each 15 inches wide by 16 inches tall (or any size you like, just keep the proportions)
- Two strips of fabric for handles, each 4 inches wide by 22 inches long
- Matching thread
- Scissors or rotary cutter and mat
- Pins or clips
- An iron (pressing makes a huge difference even for beginners)
That is it. No zippers, no interfacing (unless you want extra structure), no special feet. If you are using very thin fabric, you can double the body pieces to make the bag stronger. I like to use contrasting fabric for the handles so the bag looks intentionally scrappy.
Step by step: sewing your easy tote bag
Now for the actual sewingtutorial part. Lay your two body pieces right sides together. Pin along the sides and bottom. Sew a straight stitch with a half inch seam allowance. Remember to backstitch at the beginning and end so the seams do not unravel. Turn the bag right side out and press those side seams flat. Next, take your handle strips. Fold each one in half lengthwise with wrong sides together and press. Open them up, fold the raw edges into the center crease, then fold again. Topstitch close to the open edge. You now have two double fold handles.
To attach the handles, pin them to the inside of the bag about 3 inches from each side seam. Make sure the handle loop is facing downward into the bag so the raw ends align with the top edge. Stitch a rectangle and an X across each handle end to secure them well. Finally, fold the top edge of the bag over by about half an inch, then another half inch to enclose the handle ends. Press and stitch all the way around. That top hem finishes everything neatly. The whole process takes under an hour once you get the rhythm.
Five more scrap fabric ideas after the tote bag
Once you finish that first bag, you might want to keep sewing. I find that having a few easysewingprojects ready to go helps me use up even the smallest fabric leftovers. Here are five quick projects that build on the skills you just learned:
- Fabric coasters – cut two 5 inch squares, sew right sides together leaving a gap, turn, topstitch. Quilted or layered with batting makes them heat resistant.
Leave a Comment