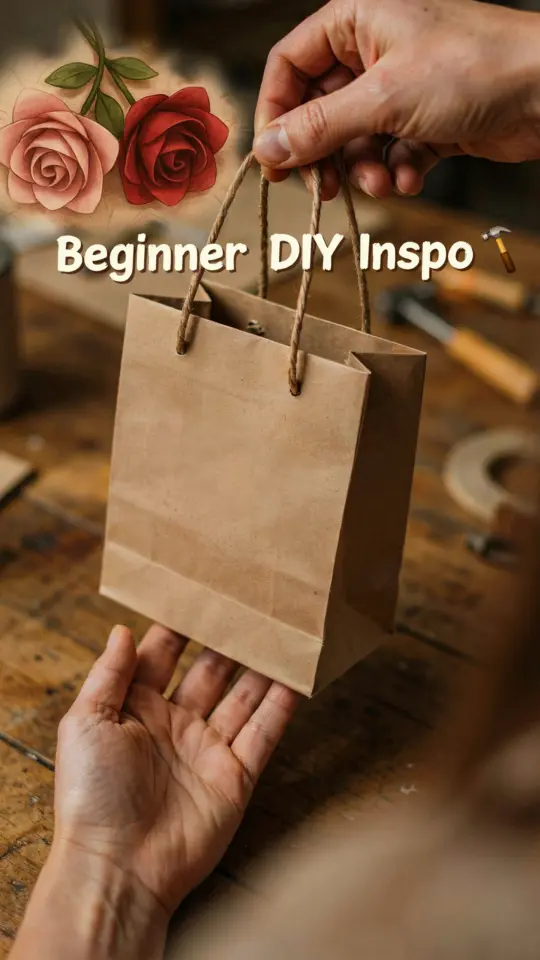
A few years ago, I found myself staring at a pile of presents with no gift bags left in the closet. Running to the store felt wasteful, so I grabbed a sheet of wrapping paper, some tape, and winging it. That first wrinkly attempt was far from perfect, but the person receiving it loved the personal touch. Since then, making a DIY gift bag has become my go-to solution for birthdays, holidays, and last minute celebrations. It saves money, reduces waste, and lets me match the bag exactly to the occasion. Let me show you what actually works, including the mistakes I made so you can skip them.
Why I Love Making Handmade Gift Bags More Than Store Bought
Store bought gift bags are convenient, but they often look generic and cost more than the gift inside. A handmade gift bag feels different. It tells the recipient you took time to create something just for them. I started making my own bags when I realized I could use leftover scrapbook paper, old magazines, or even fabric scraps. The result is always unique, and people remember the presentation as much as the gift itself. Plus, you never have to worry about running out of bags in the middle of wrapping.
Another reason I prefer handmade is the fit. Store bags are either too big or too small. When you make your own, you measure the bag to the exact size of the item. A book gets a slim bag. A candle gets a cozy pouch. You control the proportions, which means less crumpled tissue paper and more polished results.
Simple Supplies You Already Have for This Budget Craft
Here is the best part about this budget craft. You probably have most of the supplies in your desk or junk drawer right now. I keep a small stash of materials so I can whip up a bag in under ten minutes. Here is what I use most often:
- Paper: Wrapping paper, scrapbook paper, brown kraft paper, or even a colorful page from a magazine.
- Ribbon or twine: Leftover gift ribbon, baker’s twine, or a strip of fabric from an old shirt.
- Tape or glue stick: Double sided tape works best, but a regular glue stick also holds well.
- Scissors and a ruler: A ruler helps you fold straight lines, but you can eyeball it too.
- Optional decorations: Buttons, stickers, washi tape, or a small tag made from cardstock.
That is really all you need. I have made bags with just paper and tape in under five minutes. The key is not to overthink the supplies. If you have paper and something sticky, you are ready to go.
Step by Step How to Make a DIY Gift Bag from Paper
This is the method I use every single time. It works for any rectangular piece of paper. Start by laying your paper flat with the design side facing down. Fold the bottom edge up about two inches and crease it well. This creates the base of the bag. Unfold that fold, then fold each side edge inward by about half an inch and tape them down. These side folds will become the sides of your bag.
Next, bring the two long edges together so the paper forms a tube. Tape the seam where the edges meet. Now you have a cylinder. Press the bottom flat and fold the corners inward to create a rectangular base, similar to how you fold the bottom of a paper lunch sack. Tape those flaps down securely. Finally, fold the top edge down about an inch to create a clean rim. Punch two holes near the top, thread your ribbon or twine through, and tie a bow. That is your DIYgiftbag completed in minutes.
I learned this method from a craft blog years ago, and I have tweaked it to make it sturdier. The most important step is creasing every fold with your fingernail. Sharp folds keep the bag standing upright. If your paper is thin, you can line the inside with a second sheet or glue two pieces together. This also hides any tape marks.
Quick Gift Wrapping Ideas with Ribbon and Embellishments
Once you have a basic bag, the fun part is decorating. I have tried dozens of giftwrapping ideas, and the simplest ones always look the best. A single strip of ribbon around the middle, tied in a bow, never fails. For a more rustic look, use baker’s twine and attach a sprig of dried lavender or a small pinecone. For parties, I use colorful washi tape to make stripes or geometric patterns on the front of the bag.
Another trick I love is adding a matching gift tag. Cut a small rectangle from the same paper you used for the bag, write the recipient’s name on it, and attach it to the ribbon with a mini clothespin. It ties the whole package together. If
#DIYgiftbag #handmadegiftbag #beginnerscraft #budgetcraft #giftwrappingideas
Leave a Comment