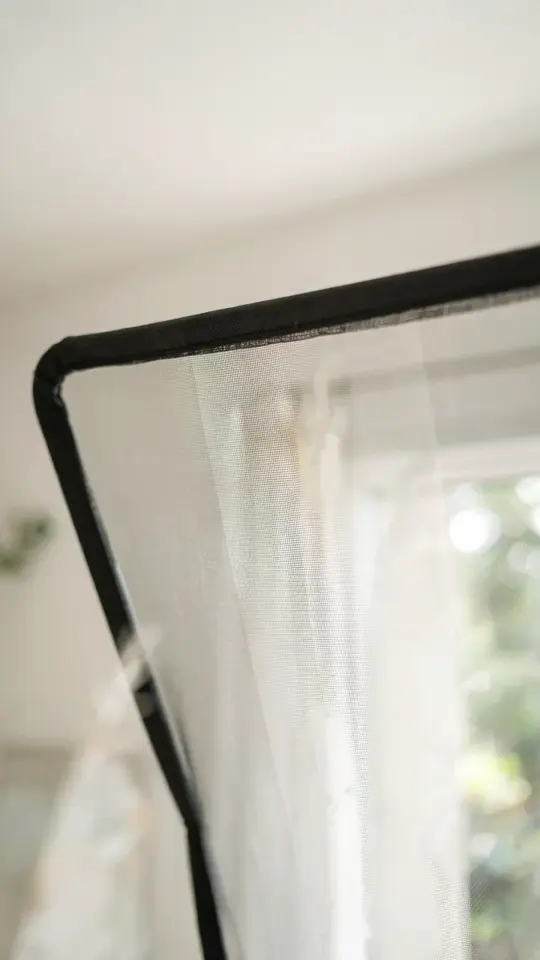
Last summer, I learned the hard way that a cracked window at night means a face full of gnats by morning. I wanted fresh air without turning my bedroom into a bug buffet, so I built a DIY window screen with opening. This simple project let me slide the screen open for a breeze or close it tight when the mosquitoes got bold. Honestly, it was easier than I expected and cost less than a pizza delivery.
Why a standard window screen wasn’t enough for me
I rent an older apartment with windows that tilt inward, so I could not use those one-size-fits-all mesh panels from the hardware store. Standard screens block bugs, sure, but they also block a lot of airflow. I wanted something that gave me control. A bug proof screen that I could actually open and close without removing the whole frame sounded like a dream, so I decided to build my own.
The typical mesh screen traps heat and makes the room stuffy. By adding a movable panel, I could direct the breeze right where I needed it. Plus, if a moth flew near the window, I could just slide the screen shut and keep reading. That control changed the way I think about summer airflow.
Materials I used for my DIY bug proof screen
I kept the supply list short and affordable. Most items came from a local hardware store, and I already had a few tools at home. Here is exactly what I grabbed:
- One wooden window frame kit (I used a simple pine frame roughly 36 inches wide)
- Fiberglass mesh screen roll (aluminum mesh works too, but fiberglass is easier to cut)
- Spline and a spline roller tool (this pushes the mesh into the frame groove)
- Two small wood panels for the opening section (I used scrap plywood)
- Two cabinet hinges and a small latch hook
- Wood screws, a drill, a utility knife, and a measuring tape
If you want a lighter frame, you could use aluminum instead of wood. I chose wood because I could sand and paint it to match my trim. That small detail made the screen feel like part of the room, not an ugly add-on.
How I built the frame and added the opening panel
First, I measured the exact window opening and built the outer frame to fit snugly. I cut the wood pieces at 45 degree angles, glued the corners, and used small corner brackets for extra strength. Once the frame was square and dry, I cut a rectangular hole in the center where I wanted the opening to go. This hole became the spot for my movable panel.
I attached the two small wood panels together with cabinet hinges so they folded like a little door. Then I screwed a simple latch hook onto the frame so the panel could lock closed. The whole assembly took about an hour. I am not a skilled woodworker, but the results looked clean and professional after a quick sanding and a coat of white paint.
One tip: measure twice before cutting the hole. If the opening is too big, the panel will wobble. Too small and it won’t fit at all. I traced the panel outline with a pencil first and checked the fit before I cut anything.
Attaching the mesh and testing the screen
I laid the fiberglass mesh over the back of the frame and used the spline roller to press it into the groove. The spline tool costs about five dollars and saves your fingers from blisters. I trimmed the excess mesh with a utility knife, leaving a half inch border for security.
For the opening panel, I cut a separate piece of mesh and stapled it to the back of the movable door. That way, when the panel is closed, bugs stay out. When it is open, air flows through the hole. I tested the latch by shaking the frame gently, and the panel stayed locked. Then I installed the whole screen into my window and waited for dusk to see if any insects found a way in.
That night, I left the panel open for two hours. Zero bugs. The mesh on the rest of the frame caught a few moths, but nothing got past the opening. I actually sat there watching the screen with a flashlight, feeling like a proud nerd. It worked exactly as I had hoped.
Fresh air without insects: what I learned about airflow
The biggest surprise was how much cooler my apartment felt. With the panel open, a steady stream of evening air moved through the room without sucking in pollen or bugs. I live near a park, so mosquitoes usually swarm my windows by sunset. This screen stopped them cold.
I also noticed that I used my ceiling fan less at night. The natural draft from the open panel was enough to keep the room comfortable. My electricity bill dropped a little, and I slept better with the sound of leaves rustling instead of a humming fan. That was a bonus I did not expect from a simple home decor DIY.
If you have allergies, pair this screen with a small air filter near the window. The mesh catches most debris, but a filter adds an extra layer for pollen. I did that on high pollen days and it made a noticeable difference.
Easy home decor upgrades that made the screen look nice
I painted the outer frame the same color as my window trim (a soft cream) and used dark bronze hinges on the opening panel. The contrast looked intentional, like a custom piece. I also added a small wooden knob to the latch so it was easy to slide open with one hand.
For a cleaner finish, I glued a thin strip of weatherstripping around the edge of the opening panel. That stopped any tiny gaps where gnats could sneak through. The strip cost two dollars and took thirty seconds to install. It also muffled any rattle from the wind.
If you want a more rustic look, stain the wood instead of painting it. A walnut or cedar stain gives the screen a natural feel that blends with plants and
#DIYWindowScreen #BugProofScreen #WindowScreenDiy #FreshAirDIY #HomeDecorDIY
Leave a Comment