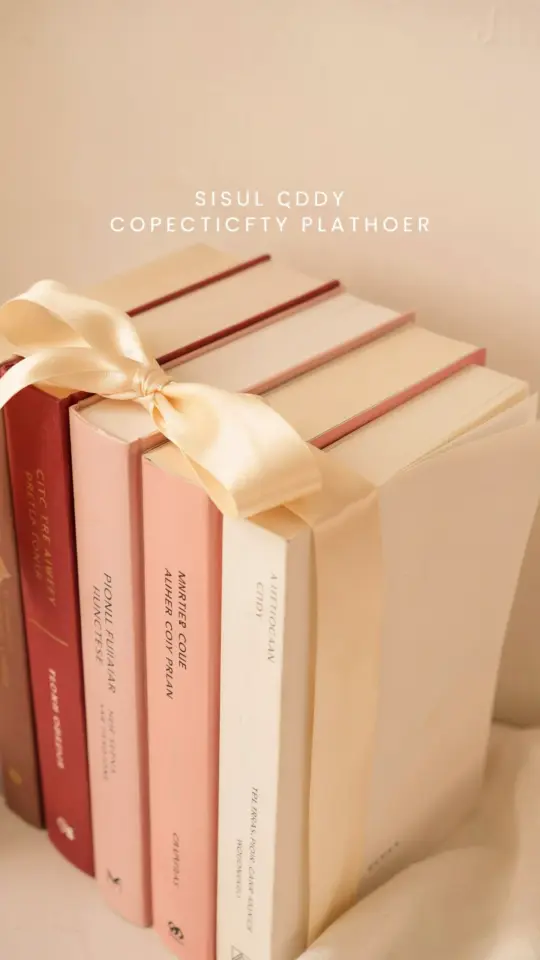
I still remember the afternoon I sat down to make my first ribbon bookmark. I had a pile of craft supplies I never used and a stack of books I wanted to mark properly. Within ten minutes I had something functional and pretty, and I wondered why I had not tried it sooner. This ribbon bookmark DIY is genuinely one of the easiest beginner crafts I have come across. You do not need fancy equipment or sewing skills, and the result is a cute, personal accessory that makes reading feel a little more special.
Why Ribbon Bookmarks Are Perfect for Beginner Crafters
If you are new to crafting, a ribbon bookmark is a low stress project. There is no glue mess unless you want it, no complicated measurements, and the materials are forgiving. I have made dozens of these bookmarks over the years and every single one turned out usable. That is rare for a beginner project.
You can finish one in under fifteen minutes, even while watching a show or listening to a podcast. The skills you learn here, like cutting straight edges, using a hole punch, and attaching a charm, transfer well to other crafts. And because they are small, you can experiment with colors and patterns without committing to a large project. For a beginner craft, this is about as low risk as it gets.
Supplies You Actually Need for This DIY Ribbon Bookmark
When I first tried making ribbon bookmarks, I thought I needed a bunch of specialty tools. I did not. Here is the short list of what I use every time now.
- Ribbon (about 12 to 14 inches per bookmark, any width from ½ inch to 1 inch works best)
- A small piece of cardstock or felt for the end tab (optional but adds a nice finish)
- Scissors that cut fabric well (paper scissors can fray the ribbon)
- A hole punch or a small pair of pliers if you want to add a charm
- A charm, bead, or button for the end (I like a simple metal charm or a glass bead)
- Clear tape or a lighter to seal the ribbon ends (the lighter is better for polyester ribbon)
That is it. Most of these things you probably already have around the house. I do not recommend buying a whole kit because you can mix and match from what you own. Half the fun is using scrap ribbon from old gift wrapping or a broken necklace bead.
Step by Step: How to Make a Simple Ribbon Bookmark
I will walk you through the method I use every time. It is the simplest way I have found, no sewing machine required.
Step 1: Cut your ribbon. Measure about 12 inches for a standard book. If you read thick novels or cookbooks, go with 14 inches. Cut straight across. If you are using a ribbon that frays easily, hold the cut end over a candle flame for a second (just close enough to melt the fibers) or dab a tiny bit of clear nail polish on the tip.
Step 2: Prepare the bottom tab. Cut a small rectangle of cardstock or felt, about 1 inch by ½ inch. Punch a hole in the center of the rectangle. Thread the ribbon through the hole and knot the ribbon underneath so the tab sits at the bottom. This gives the bookmark a finished look and keeps the ribbon from slipping out of the book.
Step 3: Add a charm to the top end. I like to attach a small charm or a bead to the opposite end of the ribbon. You can simply tie a knot above the charm if the hole is large enough. For a bead, thread it onto the ribbon, then tie a knot below it. This adds weight so the bookmark hangs nicely when you close the book.
Step 4: Trim any loose threads. If you used a lighter on the ribbon ends, make sure there is no melted plastic sticking out. For felt tabs, a quick snip with scissors tidies up any fuzzy edges. That is it. You are done.
Personalization Ideas for Your Cute DIY Bookmark
The real joy of this bookmark DIY is how easily you can make it your own. I have made ones that match the cover of a book I was gifting, and ones that use ribbon scraps from a friend’s wedding. Here are a few ideas that have worked well for me.
Layer two ribbons. Cut a thin ribbon and a thick ribbon, stack them, and tie them together at the top with a knot. This creates a two tone effect without any sewing. I love this for bookmarks that need to match two colors in a book cover.
Use a vintage button. Instead of a charm, sew or hot glue a small button to the top of the
#ribbonbookmark #diytutorial #beginnercraft #bookmarkdiy #cutediy
Leave a Comment