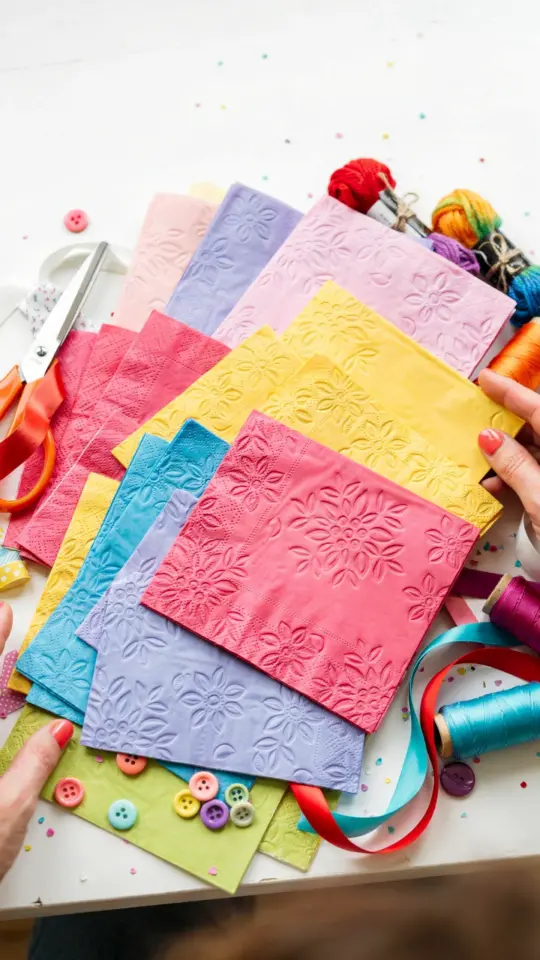
If you have a stack of empty glass jars sitting in your recycling bin, you are sitting on a goldmine of craft potential. I used to toss mine out without a second thought until I discovered how a simple paper napkin can transform them into something you would actually want to display. This DIY jar decoration with paper napkins is the perfect project for anyone who wants to try upcycling but does not know where to start. No fancy tools, no expensive supplies, just a little patience and a few napkins you probably already own.
Why Use Paper Napkins for Jar Crafts?
Paper napkins are not just for cleaning up spills. Their thin paper and repeating patterns make them ideal for decoupage style projects. Unlike thick scrapbook paper, napkins blend into the glass surface with almost no visible edge. This means your finished jar looks painted or printed, not like you glued a piece of paper on it.
Another reason I love napkins is the variety. You can find floral designs, abstract patterns, seasonal motifs, or even napkins that look like vintage wallpaper. A single napkin costs less than a dollar, and one pack can cover several jars. It is a budget friendly way to create HandmadeDecor that matches any room in your home.
Plus, the technique is forgiving. If you mess up, you can peel off the napkin and start again while the glue is still wet. For a beginner that is huge. It removes the fear of ruining your project.
Supplies You Need for This Upcycled Jar Project
Before you start any PaperNapkinCraft, gather your materials. Most of these are things you already have around the house. Here is a straightforward list:
- Clean glass jar (any size, but straight sided jars are easiest)
- Paper napkins with a pattern you like
- White school glue or Mod Podge
- Small paintbrush or sponge brush
- Scissors
- Water (to thin the glue)
- Optional: acrylic paint for the lid, twine or ribbon for added detail
A note on glue: regular white school glue works just fine. Mix it with a little water (roughly two parts glue to one part water). Mod Podge is more expensive but dries clear and gives a nice finish. I have used both and honestly, the result is very similar for a beginner project.
Choose a napkin that has a distinct pattern. Solid colored napkins can look a bit dull. Floral or geometric prints hide any small wrinkles in the paper.
Step by Step: How to Decorate a Glass Jar with Paper Napkins
This is the core of the BudgetDIY process. Take it slow and you will be surprised how professional your jar looks.
First, separate the layers of your paper napkin. Most napkins have two or three thin layers. You only want the top printed layer. Peel the white layers off carefully and discard them. If the napkin tears a little, do not worry. You can patch it later.
Cut or tear your napkin into pieces that fit around your jar. I prefer tearing because the rough edges blend into the glue better. For a clean look, cut the napkin to the exact height of the jar. Then cut a strip long enough to wrap around the circumference.
Apply a thin layer of your glue mixture onto the jar surface. Place the napkin piece onto the wet glue. Use the brush to gently smooth it outward from the center. The napkin will wrinkle almost immediately. That is okay. Keep smoothing and the wrinkles will flatten or become part of the texture. Work slowly and add more glue on top of the napkin as you go.
Let the first layer dry for about ten minutes. Then apply a second coat of glue over the entire napkin. This seals it and protects the paper from moisture. Once dry, the jar will feel smooth to the touch.
Creative Ideas for Your Finished Jar
Once you have mastered the basic technique, you can turn your UpcycledJars into functional decor. Here are a few ways I have used mine around the house:
- Vase for fresh flowers or dried lavender
- Pencil holder on my desk
- Tea light candle holder (use a battery operated candle to be safe)
- Small storage for cotton balls, hair ties, or paper clips
- Gift container for homemade cookies or bath salts
You can also add a lid. Paint the metal lid with acrylic paint in a matching color. Or skip the lid entirely and wrap the rim with jute twine for a rustic look. I once made a set of three jars with different floral napkins and gave them as a housewarming gift. They cost me almost nothing but the recipient thought I bought them at a boutique.
If you want to HandmadeDecor#DIYHomeDecor #PaperNapkinCraft #UpcycledJars #BudgetDIY #HandmadeDecor
Leave a Comment